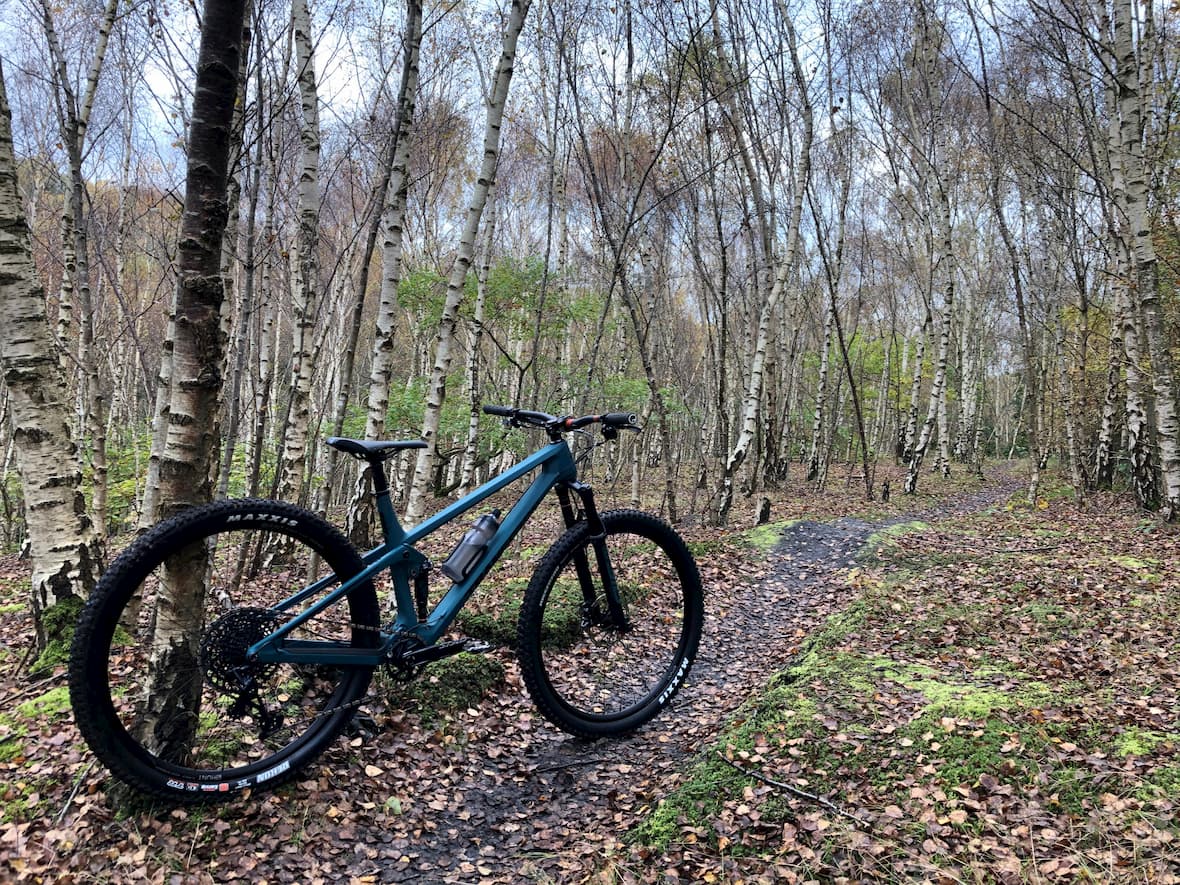
Going tubeless is one of the biggest upgrades you can make to your bike. You'll have better puncture protection, more grip, more comfort and improved rolling resistance - that's a whole lot of wins for a minimal amount of fuss! It can still be intimidating however the first time you go to do a 'DIY tubeless' setup, so with the help of our Bike Expert Tom, here's our guide to setting up your tyres tubeless!
Step 1: Make sure you have everything you need
Before you get started, you need to ensure you have suitable wheels and tyres. Ideally both the wheels and tyres will be 'tubeless-ready' or tubeless 'compatible'. While it is possible to run some non-tubeless wheels in a tubeless setup, we don't really recommend this, so if you don't have a set of tubeless-ready wheels already, check out our range here. For any tubeless setup, you will need specific tubeless-ready tyres, so check your tyres beforehand.
You will also need: tubeless tape, sealant, tubeless valves, some tyre levers to help to get the tyres in place, and a way to get air into the wheels/tyres as quickly as possible to seat the tyre beads. While in some cases a standard track pump will be up to the job, we recommend a tubeless booster pump, such as the Topeak Joe Blow Booster or something like the Airshot Tyre Inflator. If you have access to one, an air compressor is also perfect for the job.
Now you have all you need to do the job, let's get started!
Step 2: Taping your wheels
The first step is to tape your wheels. The key here is to keep tension on the tape while fitting it to avoid any air bubbles under it. Start taping 2 spoke holes away from the valve hole, doing a complete rotation of the wheel, then overlapping by 2 spoke holes on the other side of the valve hole (so you have an overlapping section of tape around 4 spoke holes long). This extra tape helps keep the valve in place as they can rotate when tightening the lock nut. Once you've finished taping, carefully pierce the tape through the valve hole and securely fit the valve.
Step 3: Fitting the tyre & adding sealant
Next step is mounting the tyre. Start by fully fitting one bead of the tyre to the wheel (which should go on fairly easily by hand). Then start fitting the other side of the tyre but leave about a quarter of the bead unseated. This is to allow you to add the sealant directly into the tyre. While you can fully seat the tyre and add sealant through the valve by removing the valve core, pouring it in direct is usually less messy and means your valves won't get clogged with sealant. Once you've added the recommended amount of sealant (check the packaging of your chosen sealant for accurate details), seat the remainder of the tyre bead. You may need tyre levers to help with this bit.
Step 4: Inflation
No, not that kind of inflation you've been hearing about on the news, we're talking about inflating your tyres with air! The key with this step is to get as much air into the wheel and tyre as quickly as possible in order to seat the tyre bead onto the rim. On occasion a regular track pump will do the job, using something like a tubeless booster pump like the Joe Blow Booster or Airshot mentioned previously will make life a whole lot easier. A good air compressor will also do the job of whacking in the required air in double quick time. Listen out for a 'ping' sound as the tyre seats into the right place on the rim.
Top Tip
If you're still struggling to get as much air in as you need and the tyre beads won't pop into place, try removing the valve core from the valve. This will allow the air to get into the tyre quicker, giving you a better chance of seating the tyre.
Once inflated, we recommend spinning and shaking the wheel to ensure the tyre gets a good coating of sealant all around the inside to help it seal correctly and firmly hold air.
Step 5: Go for a ride!
After that last step, you're all done! It's best to leave the tyres overnight to make sure they're holding air, before topping them up with air if necessary. Now it's time to refit the wheels to your bike and go for a ride!

